Build a More Reliable Colour Workflow
A palette is more than a list of swatches. It shapes how you pick colours, how shading steps are ordered, how presets are reused, and how consistently different projects stay on model. The easiest way to learn it is to start with the core actions first, then add interpolation, sampling, presets, and advanced replacement workflows as needed.
Core Actions
- Click a swatch to select it and make it the current pen colour.
- Drag to reorder when you want to rearrange the palette layout.
- Double-click a swatch or empty slot to write the current pen colour into that position.
- Delete colours by dragging a swatch out of the palette area on iOS, or by selecting the swatch and using the delete action on desktop and Android.
- Scroll the palette when the swatch set grows beyond the visible area.
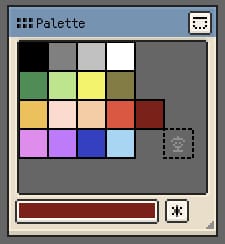
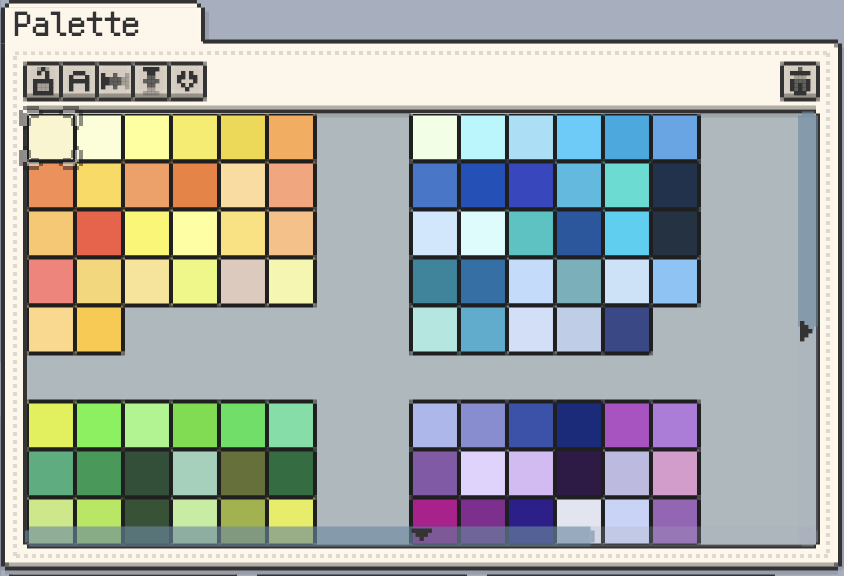
If you want to understand the overall layout before going deeper, these two screenshots give a good platform-level overview.

Generating and Organising Colours
Names, titles, and quick actions
- Lock Palette helps prevent accidental edits, deletes, or reordering.
- Show Color Name displays swatch names directly in the palette when you need clearer communication or better palette hygiene.
- Rename the current colour once colour-name display is enabled.
- Show Palette Name keeps the palette title stored with the document and, when enabled, visible in the palette window title.
- Palette action bars on both iOS and desktop expose the most common shortcuts, including lock, show names, horizontal and vertical interpolation, load preset, and delete current swatch.
Desktop-specific speedups
Desktop and Android lean more heavily on keyboard, mouse, and pen workflows, so the palette also includes a few faster organisation tools:
- Multi-selection and batch actions for moving, copying, cutting, or deleting a range of swatches
- Shift-based range expansion when you want to extend the current selection quickly
- Alt/Option + mouse wheel navigation for moving through palette colours without breaking drawing flow
- HEX copy and paste from desktop colour entry points, including colour edit buttons, Pen Color, palette slots, and the Material Color Sphere base colour. Copying a single palette colour also writes its HEX value to the system clipboard.
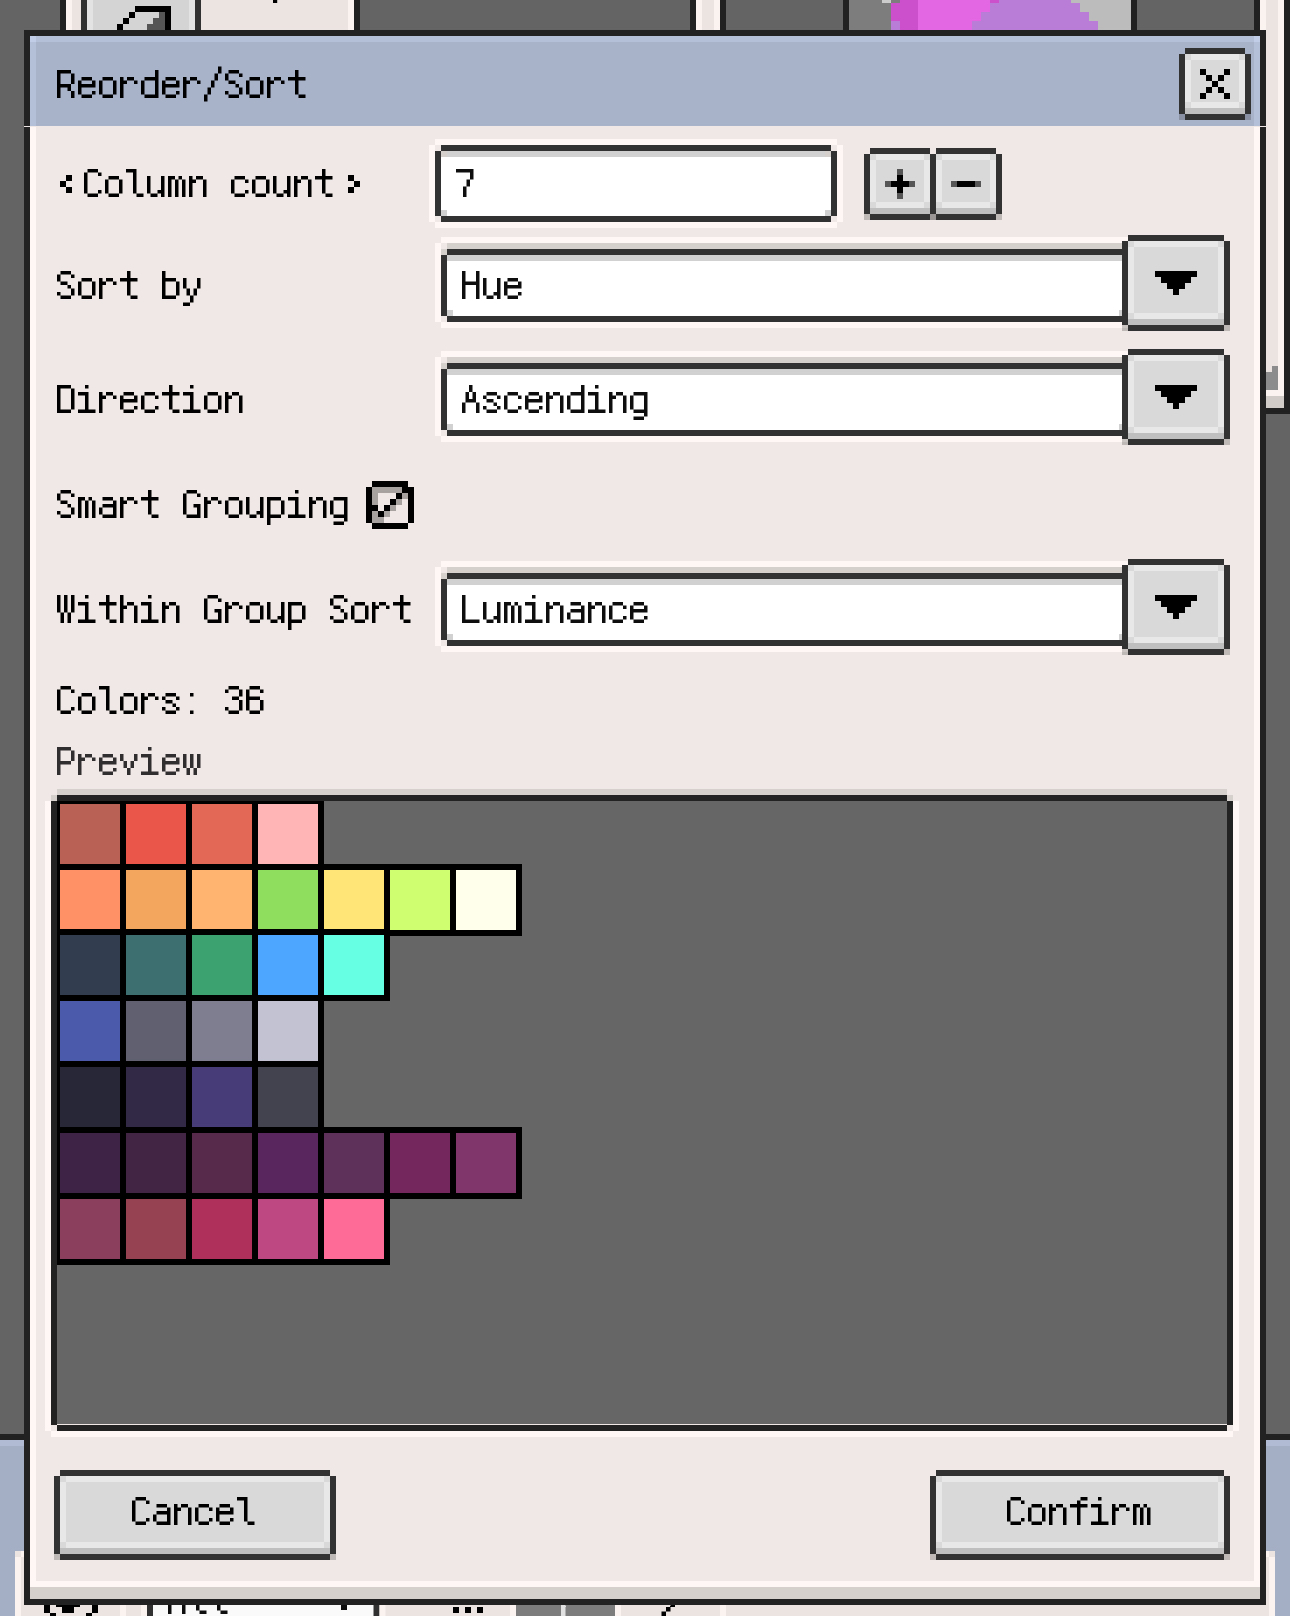
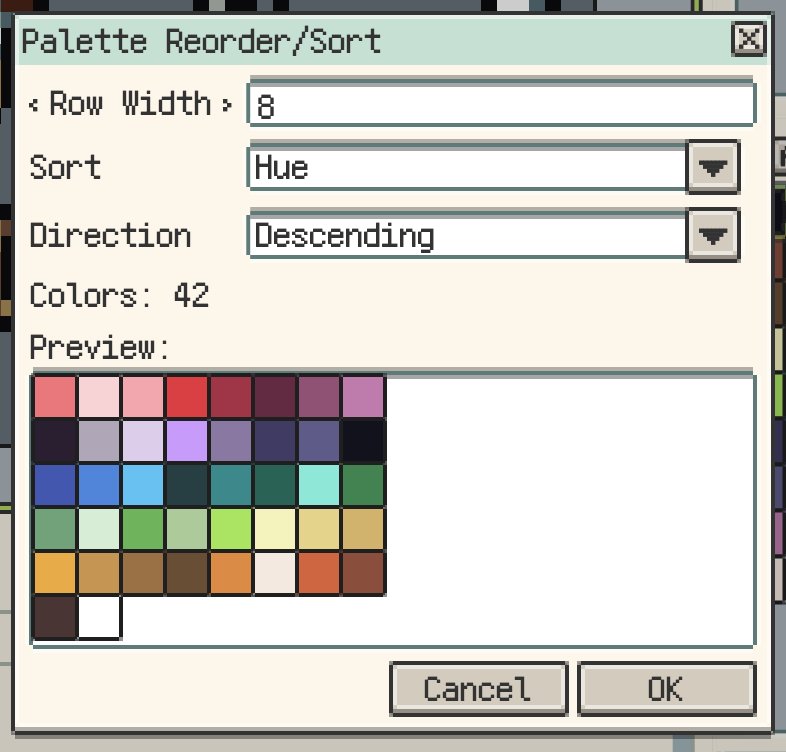
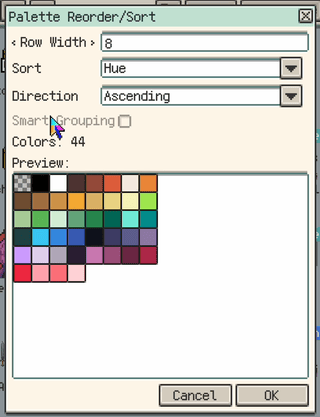
Reorder and Sort palettes (iOS R56+, Desktop & Android v1.30.2+)
Use Reorder/Sort when you need to rebuild a palette layout without manually dragging every colour. The dialog can preview the result before applying, switch between ascending and descending order, and sort by hue, saturation, brightness, luminance, and RGB channels. On supported multi-cell workflows, you can also sort only the selected colours.
Smart Grouping can also arrange sorted colours into more natural grouped rows, which is useful when you want ramps or hue groups to remain readable after sorting.
On iOS R56+, the same sorting controls are also available while previewing GPL palette imports, so you can confirm the final arrangement before replacing or appending colours.
Colour interpolation
Interpolation generates in-between colours from two anchor swatches. It works horizontally or vertically, so it is useful both for filling gaps and for rebuilding a cleaner colour ramp between two endpoints.
- Horizontal / Vertical interpolation can be triggered from the action bar or from the menu.
- HSV / RGB modes let you choose whether the transition should feel smoother or more mechanical.
- Ramp building is especially useful when you already know your start and end colours and want to fill the middle quickly.

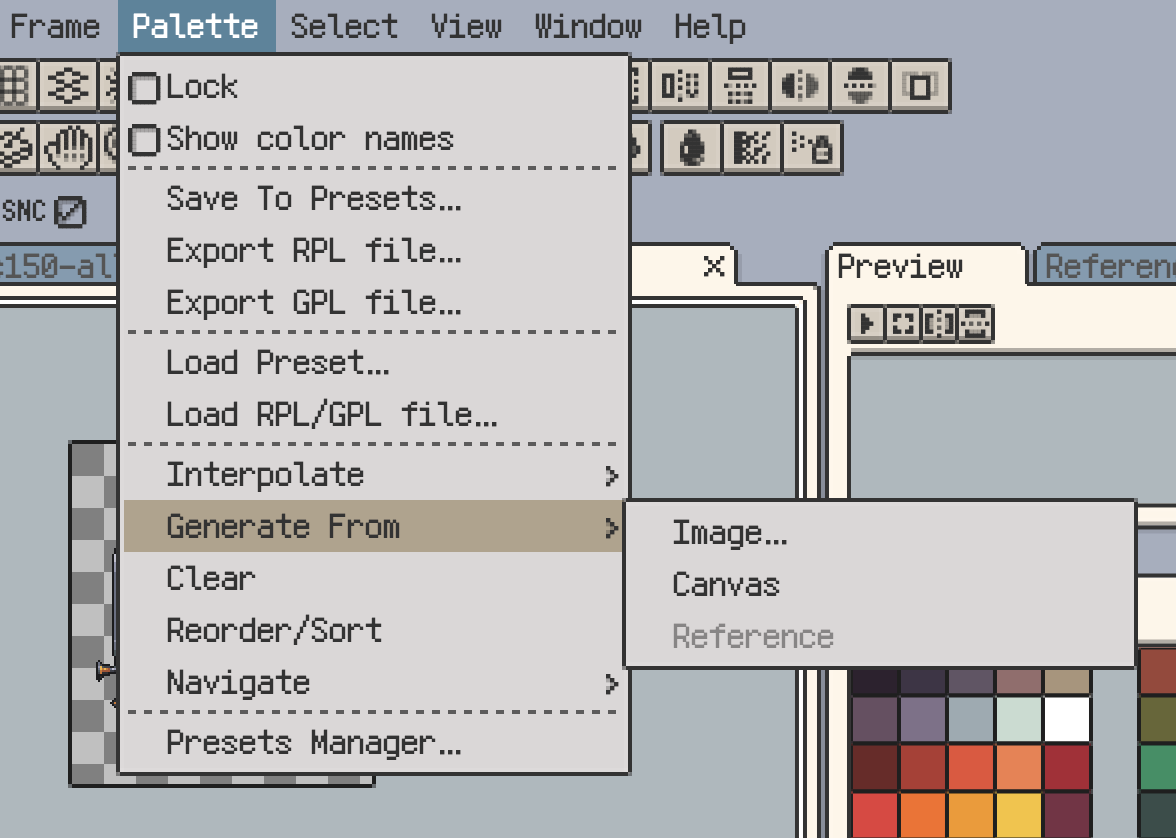
Generate from canvas, reference images, or pictures
Use Menu ▸ Palette ▸ Generate From to build a palette directly from the canvas, a reference image, or an imported picture.
- Source types include the current artwork, a reference image, or a separately imported image.
- Colour count is chosen during generation, instead of being fixed in preferences ahead of time.
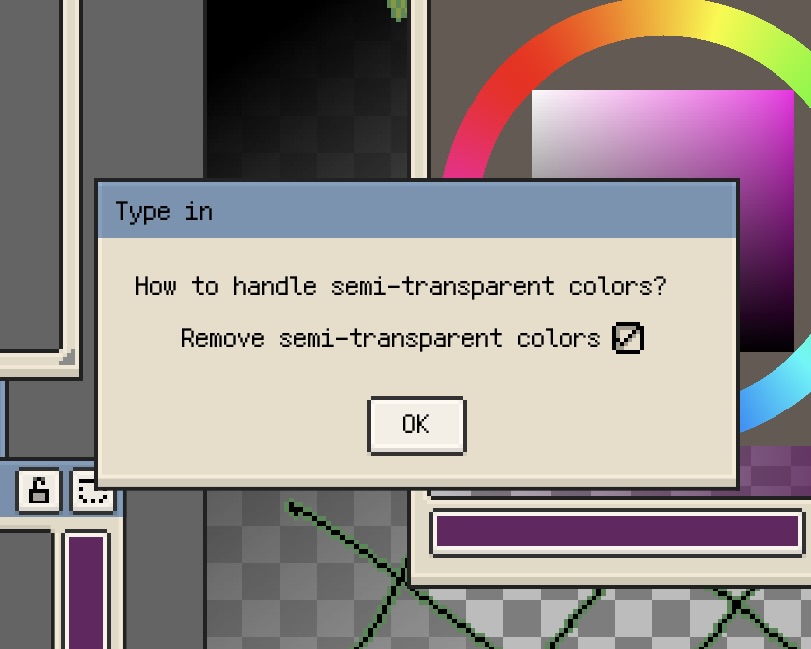
- Semi-transparent filtering is offered during generation when the source contains many translucent pixels.
- Import continues afterward so you can still decide how the generated palette should be brought into the current document.
- JPG is a poor source for palette extraction because compression introduces many near-duplicate colours.
- If the source contains a lot of semi-transparent pixels, decide case by case whether they should be filtered out.
- Resprite still groups and reduces colours to make the generated palette easier to organise and draw with.
If the main thing you want to confirm is where the entry points live, this menu screenshot is the fastest reference.
Presets, Import, and Export
From Menu ▸ Palette, you can save, load, import, export, clear, and reorganise palette data. The most common flows are:
- Save to presets so a palette can be reused across future projects
- Export as file in either
RPLorGPL - Load from file into the current document
- Clear or reorder when you want to rebuild the palette structure
Supported formats:
- RPL (
.rpl) is Resprite’s own format and preserves swatch positions in the grid. - GPL (
.gpl) is a broader interchange format that works well across other tools.
On iOS R56+, when importing an external palette into the current file, you can choose to always replace the current palette and skip the Replace/Append confirmation next time. The preference can be turned off later in Settings.
Palette Presets Manager
Open the presets manager from Preferences ▸ Palette or Menu ▸ Palette ▸ Load.
It is best used for:
- saving custom palettes for repeated use
- renaming or deleting user presets to keep the library tidy
- setting a default palette for new sprites
- loading a chosen preset directly into the current file
- opening the palette preset folder directly on desktop when you want to organise files manually
Import palettes from links
Resprite can also import palettes through supported web links and app deep links.
- Preview before importing so you can confirm the colour count and overall look first
- Choose the target by importing into the current file or saving straight to presets
- Open palette links directly from sites such as PixelArtPalettes, Lospec, and MoonPX without downloading a palette file first
- Manage Trusted Websites on iOS so approved sites can be remembered and reviewed later in Settings
- Collect and reuse external palettes more smoothly when you discover them on the web
Advanced Capability Currently Available on iOS
Auto Replace
On iOS, Menu ▸ Palette ▸ Auto Replace links palette colours with every pixel that uses them.
That makes it useful for broad recolouring passes:
- editing a palette swatch updates every matching pixel across the artwork
- the workflow feels close to classic indexed-colour editing
- very large sprites may need a moment while the colour remap finishes
If you do most of your final colour refinement on iOS, this is one of the most valuable advanced palette features.
Picker Layouts and Display Preferences
The palette and the colour picker are closely related, so it helps to tune both around the same workflow.
Palette-related preferences
The exact options differ a little by platform, but these are the ones that matter most:
- Swatch size to change how large each colour block appears
- Show palette name to decide whether the palette title appears in the window header
- Show border on desktop when you want clearer swatch separation
- Pen colour placement when you prefer the active colour to live inside or near the palette
Picker layouts
Resprite offers several picker layouts for different ways of choosing colours.
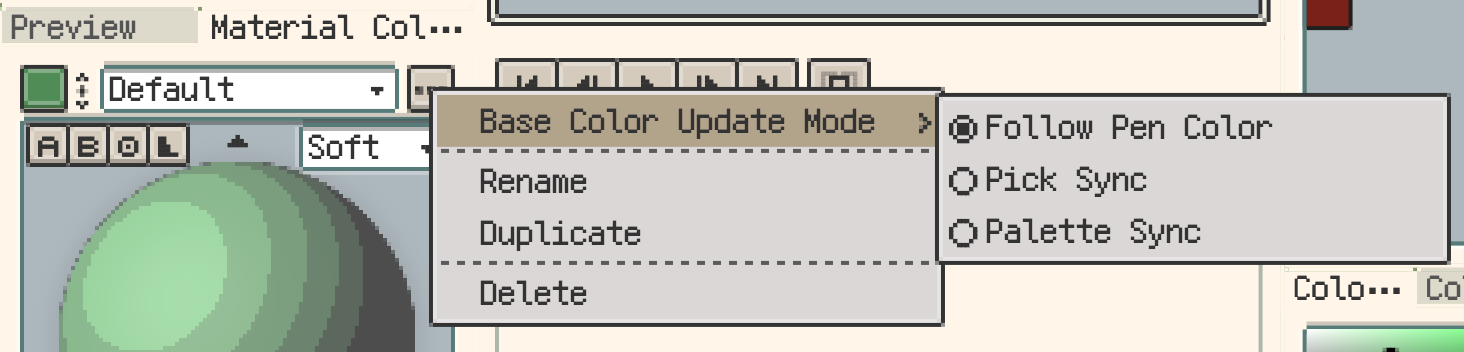
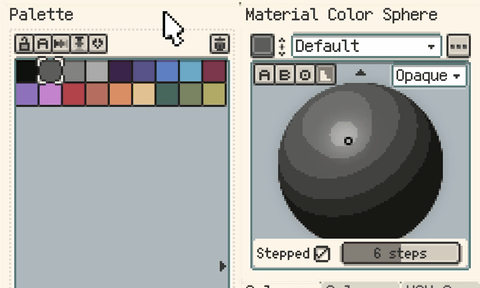
Material Color Sphere
Material Color Sphere is useful when you want to organise highlights, midtones, and shadows quickly, especially in more structured rendering workflows.

On iOS R57+ and desktop / Android v1.31.0+, Material Color Sphere supports Base Color Update Mode. Choose whether the base color follows the current pen color, syncs with picked colors, or syncs with palette selection. Its profile actions also live in the profile menu, and the sphere itself uses a more pixel-style rendering.
On iOS R57+ and desktop / Android v1.31.1+, the profile menu can also add stepped colors to the palette. When stepped mode is enabled, Resprite appends the representative sphere colors to a new palette row from dark to light, which is useful for turning a material preview into a reusable colour ramp.
HSL Spectrum
The HSL spectrum layout is better when you prefer to move through colour by hue first and then refine saturation and lightness.
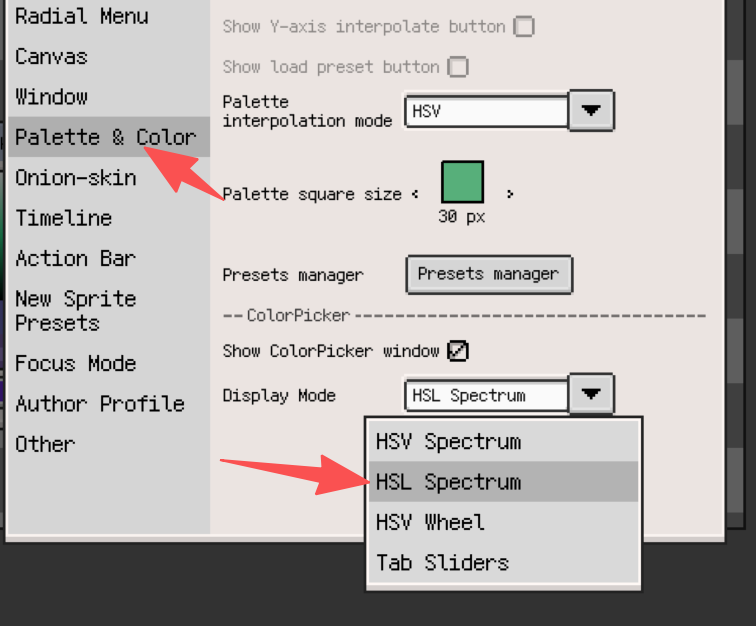
If you like seeing the full hue structure before making smaller adjustments, this layout tends to feel more natural.
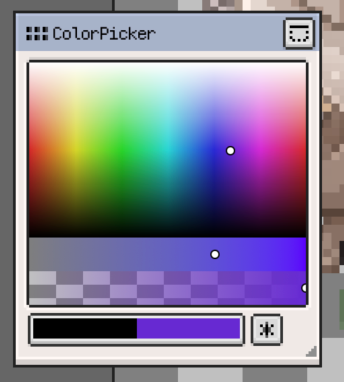
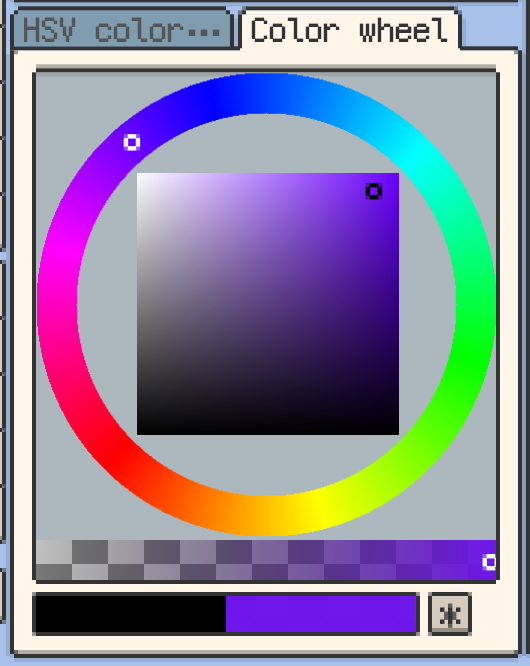
Wheel and radial layouts
If your eye works better around a colour ring, you can switch to a wheel or radial layout instead.
The radial layout is more integrated with brush adjustment while you pick colours. If you prefer a more traditional wheel, the dedicated wheel layout may fit better.
If you want a cleaner workspace, you can keep the palette or top-bar pen colour visible and hide the standalone colour picker window.