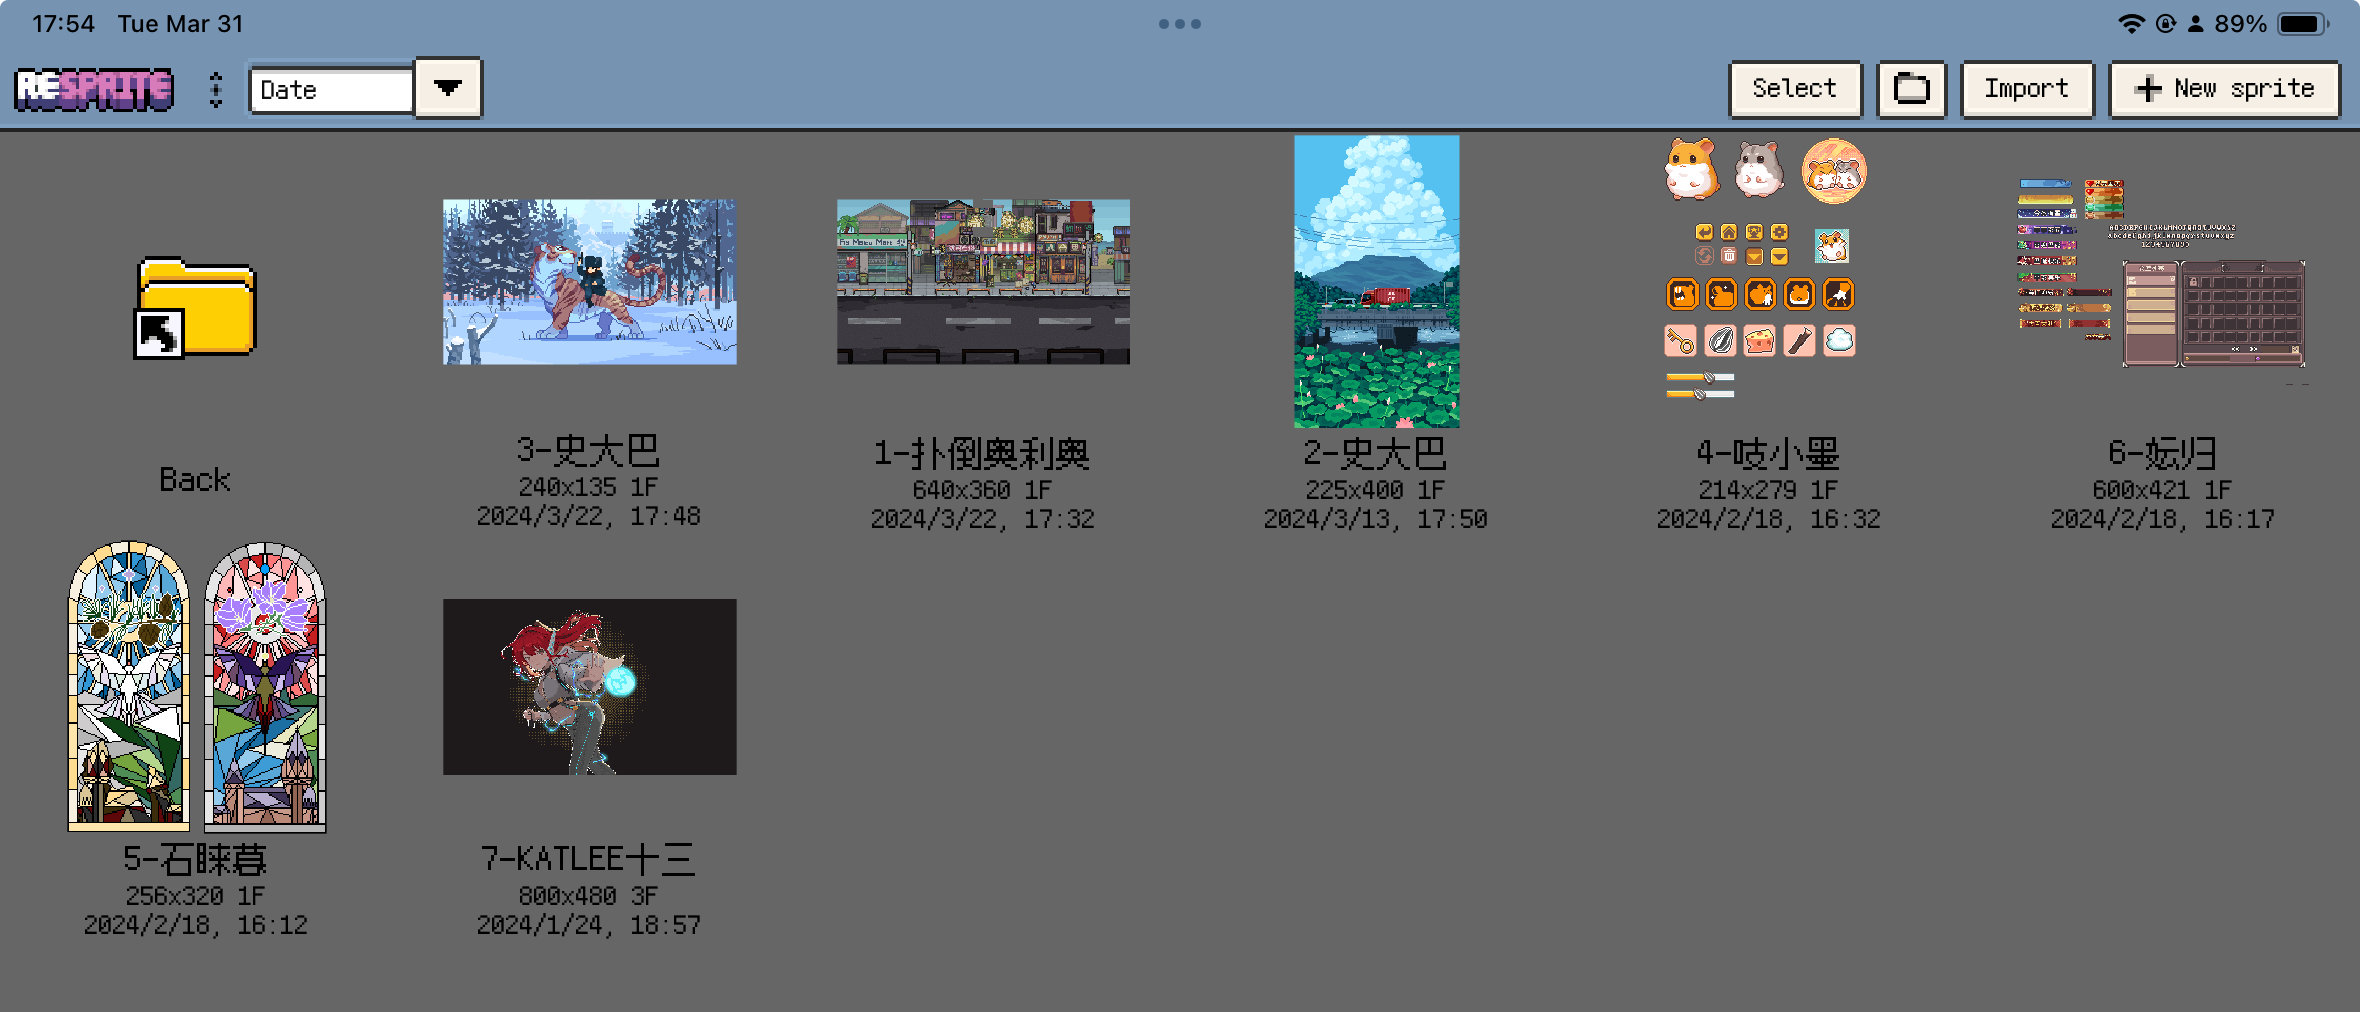
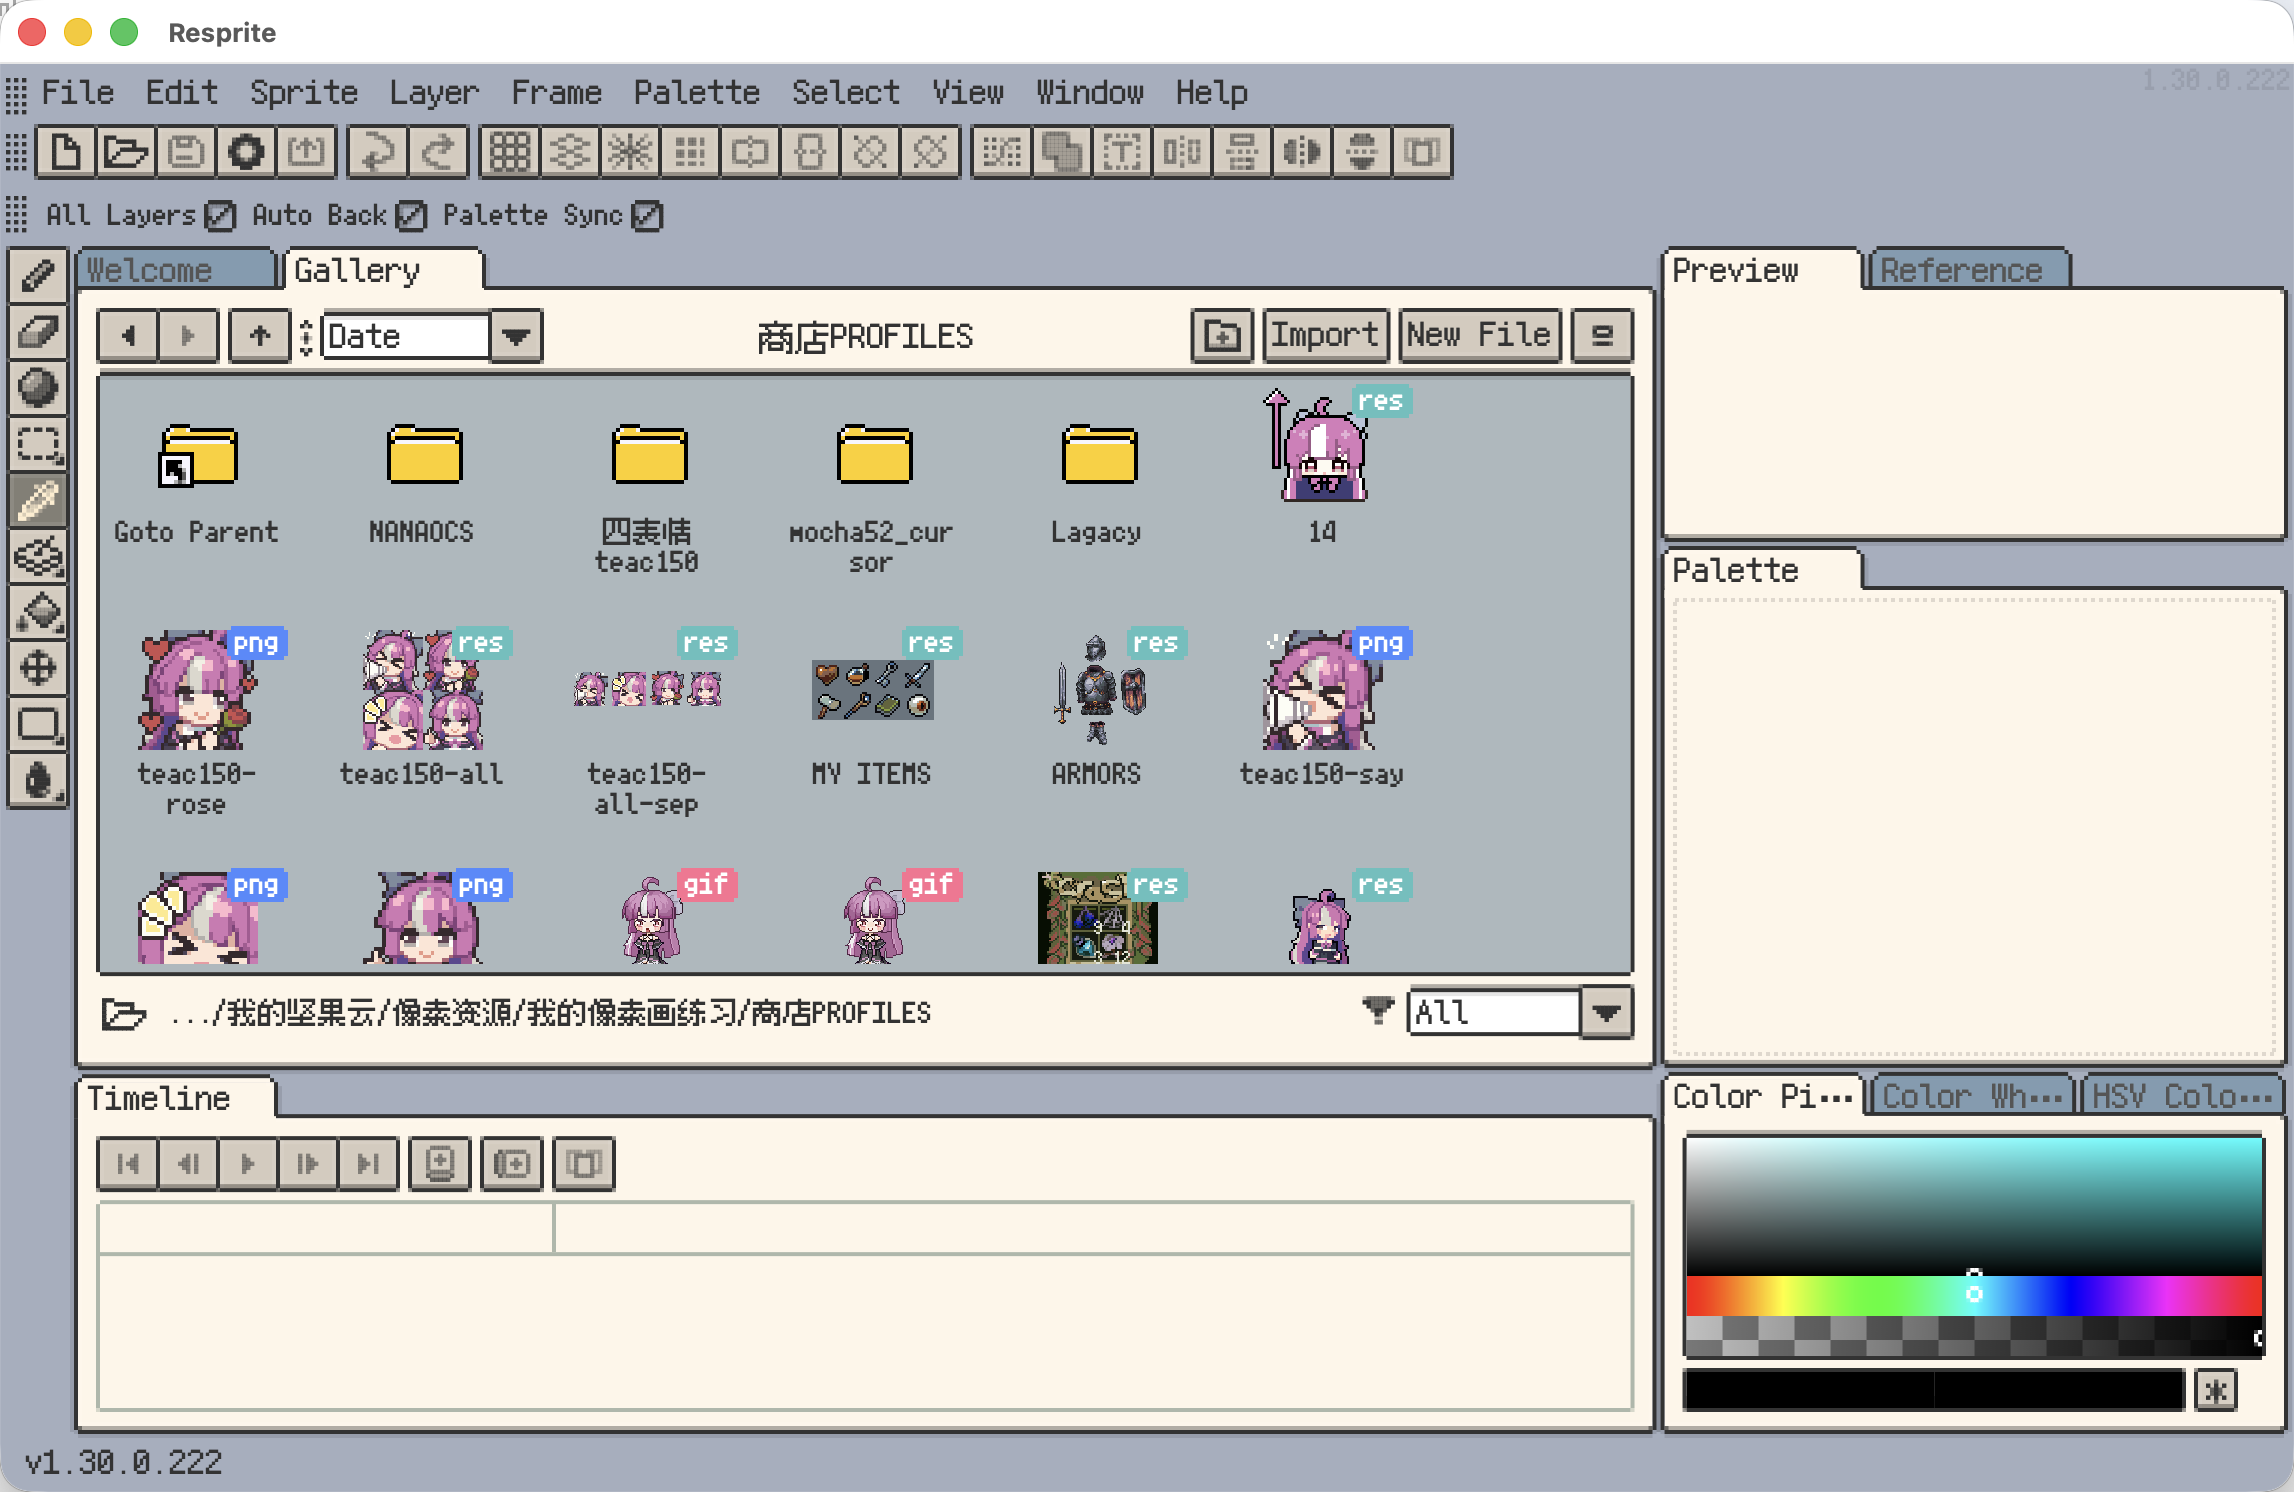
Getting to Know the Gallery
The Gallery is the home screen for your Resprite projects. It is where you create new work, import existing files, reopen in-progress sprites, and keep your folders organised.
Start with the main entry points
These are the Gallery controls you will use most often:
- New Sprite to start a new Resprite project
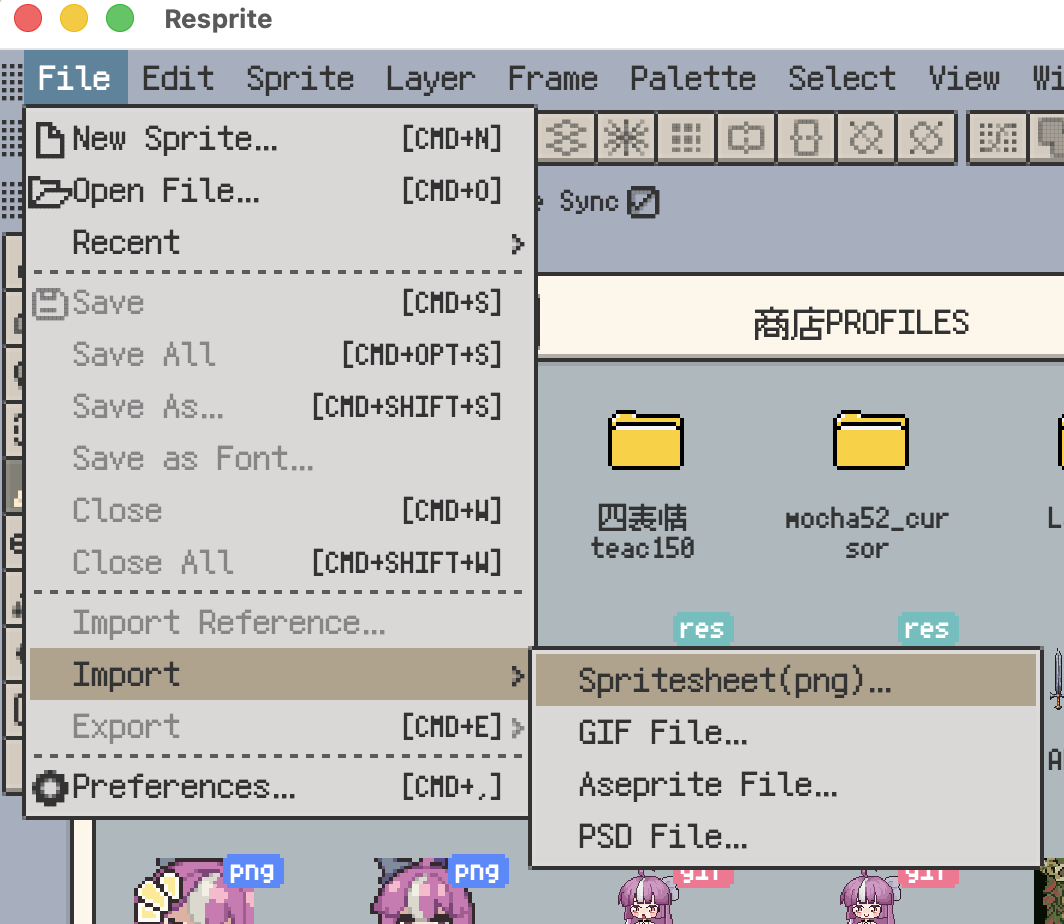
- Import to bring in
.resprite, GIF, APNG, sprite sheet, PSD, or Aseprite files - New Folder to keep characters, scenes, or versions organised
- Sort to change how projects are listed
The layout differs slightly by platform:
- On iOS, the main controls are grouped in the top navigation area, including sorting, import, new folder, and new sprite.
- On desktop, the main controls live in the top action bar, while the bottom bar adds file type filtering and direct access to local folders.
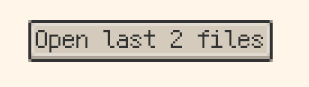
Reopen files from the last session (Desktop v1.31.1+)
On desktop, Resprite can remember saved files that were still open when you quit. The next time you start the app, the Welcome screen shows Open last N files beside Import when those files can be opened again.
This is a manual reopen action, so it will not open files unexpectedly on startup. Unsaved new files are not included.
Creating, importing, and making folders
If you are starting from scratch, use New Sprite. If you already have artwork or an existing project, use Import. If you plan to keep a lot of work organised over time, create folders early and group related files together.
A few common patterns:
- Make a folder first, then create a new sprite inside it for a character, scene, or animation set.
- Import files from other tools first, then check that layers, frames, and colours came across as expected.
- Duplicate a project before large revisions so you always have a safe fallback version.
When you are ready to start a file, continue with Create Your First Sprite.
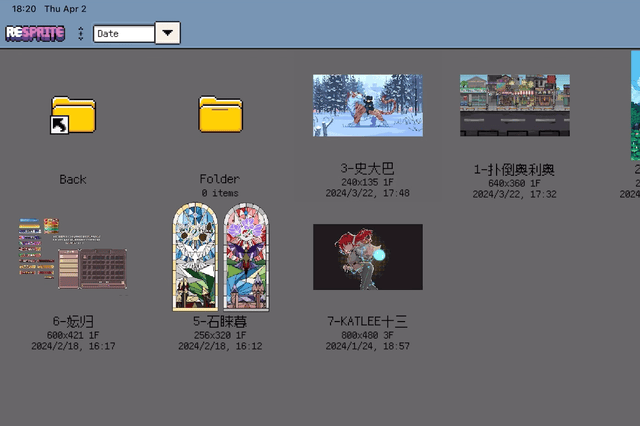
Sorting and finding projects faster
Once your library grows, sorting becomes the fastest way to stay oriented.
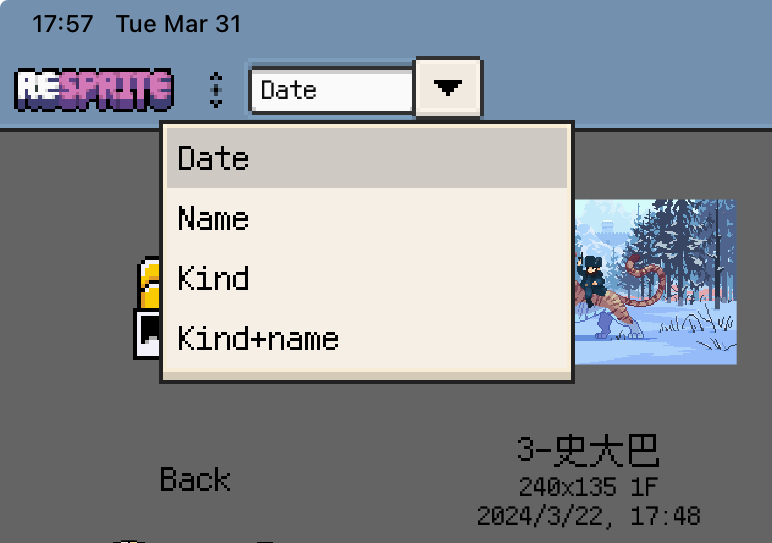
Across platforms, Resprite gives you these core sort modes:
- By modified time for jumping back into recent work
- By name for finding projects by title
- By kind for listing folders first and grouping similar files together
On iOS, there is also an additional mode that groups by kind and then considers modification time.
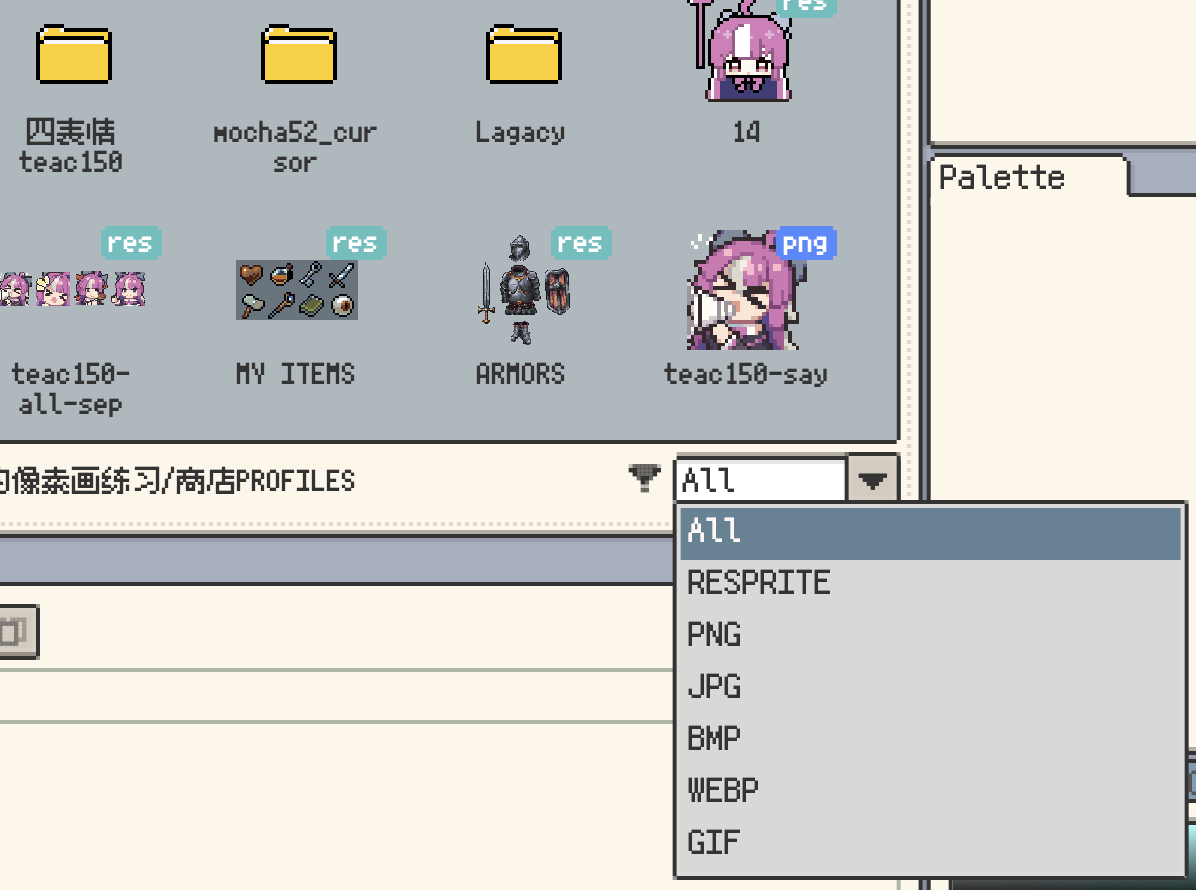
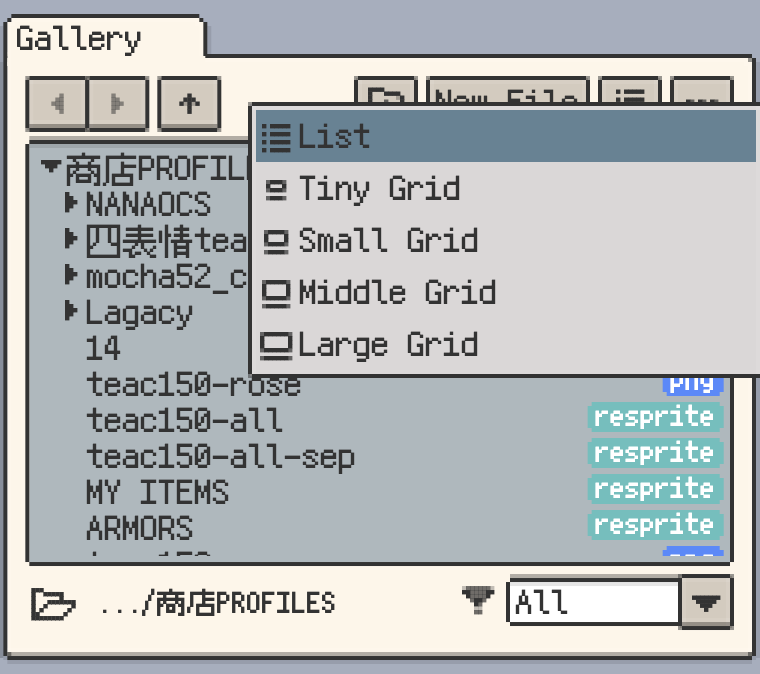
Desktop adds a few extra ways to scan large libraries more efficiently:
- Show file type badges on each item
- Use the bottom file type filter to narrow the list to specific formats
- Switch to Tiny Grid when you want to see more items per screen
If the main goal is simply to scan more items at once, you can go one step further and switch to a denser layout.
Opening projects and using the context menu
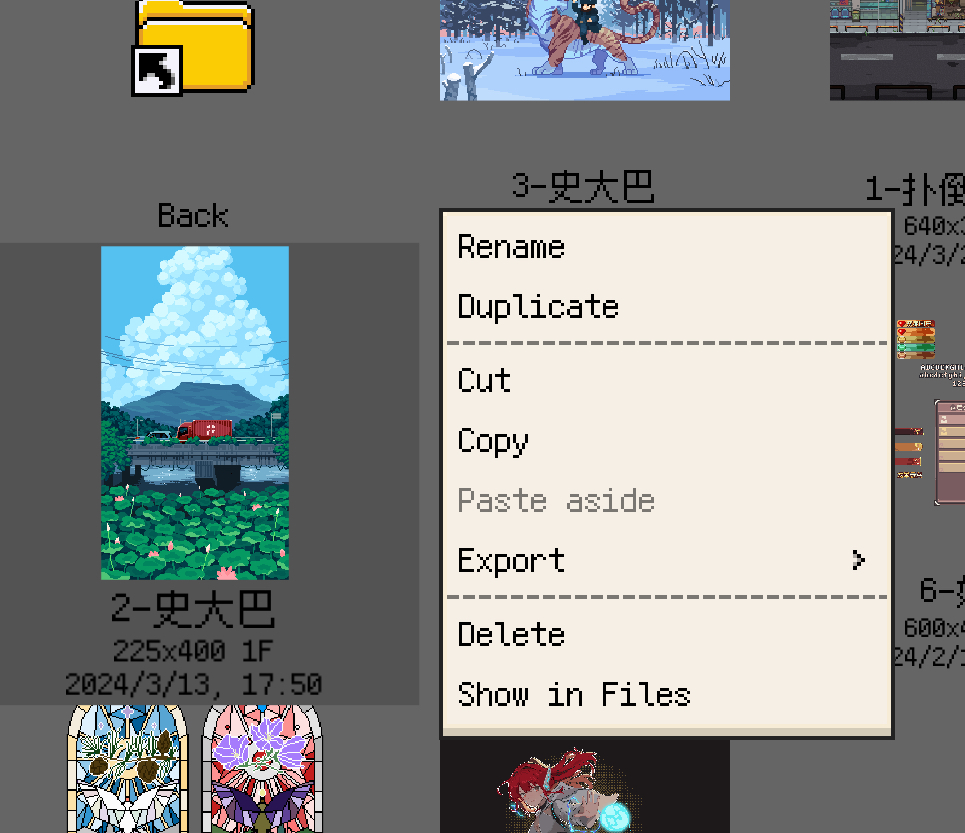
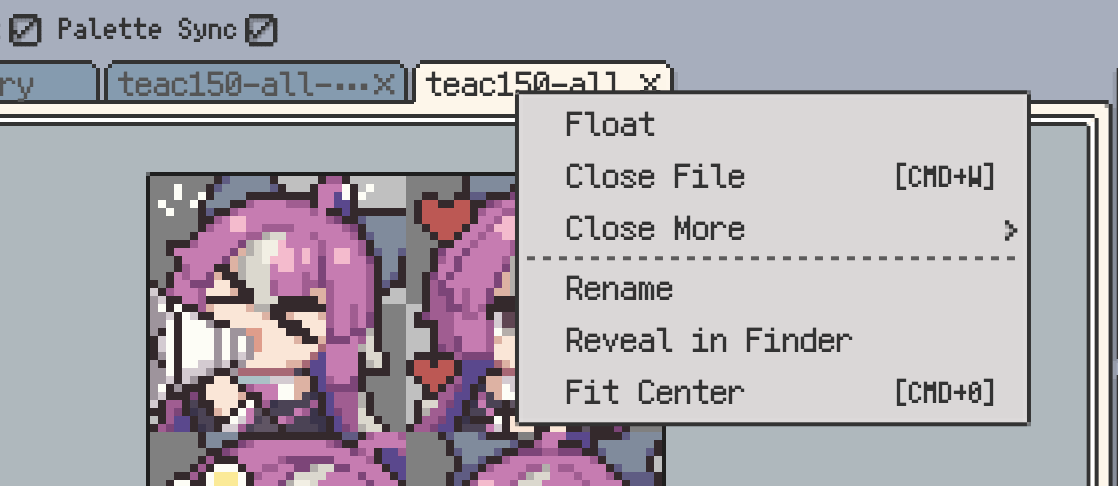
Tap or click an item to open it. For actions beyond opening, use the context menu:
- On mobile, long-press an item
- On desktop, right-click an item
Common actions include:
- Rename to clean up project names
- Duplicate to branch a new version safely
- Delete to remove the current file or folder
- Show in Files / Reveal in Finder / Show in Explorer to jump to the real file location
If you often work in iterations, duplicating before major changes is usually safer than overwriting the original.
Organising your work
The Gallery is not only for opening files. It is also where day-to-day project organisation happens.
Good habits include:
- Keep the same character, scene, or animation sequence in one folder
- Duplicate before major edits so you can revert if needed
- Drag projects into folders to regroup them by theme or production stage
- On desktop, open local folders directly when you need to work across existing directories
On iOS, you can also pin frequently used folders for quicker access.
The platform differences worth knowing first
To avoid confusion early on, these are the differences that matter most:
- iOS supports folder pinning and lets you jump to the file in the Files app.
- Desktop adds right-click menus, opening arbitrary local folders, revealing files in Finder or Explorer, file type filtering, and Tiny Grid.
- Android and mobile devices lean more heavily on touch-first interactions, especially long-press menus.
This page is meant to help you get comfortable with the Gallery first. If you want to start drawing next, continue with Create Your First Sprite. If you already have external files, go straight to Import Artwork.