Timeline Overview
Resprite includes an Aseprite-style timeline for managing layers, frames, cells, and animation clips. This page introduces the main areas of the timeline first, then walks through the most useful controls and settings on each platform.
Understanding the Main Areas
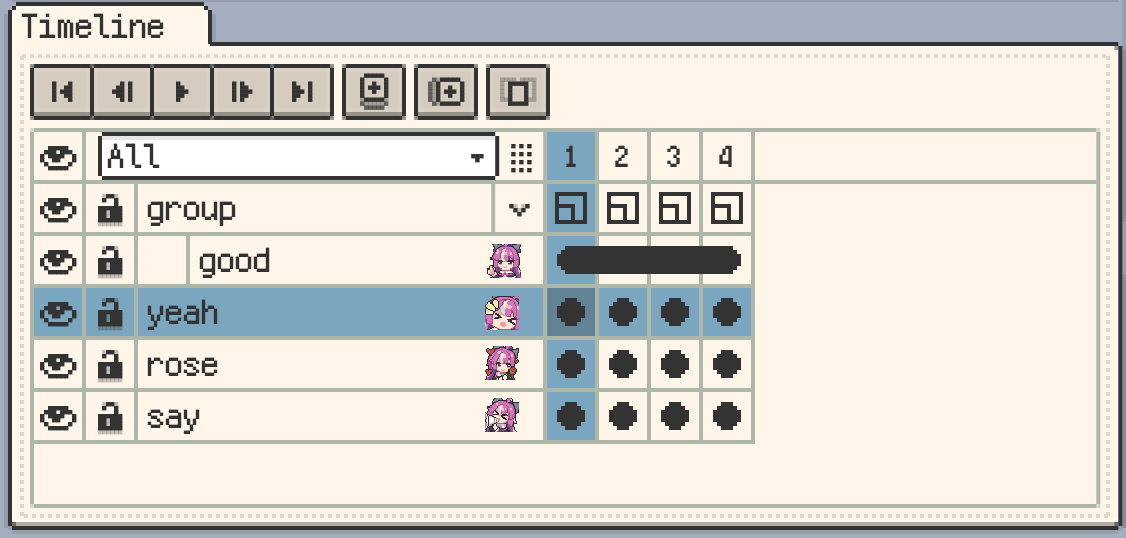
The timeline is usually made up of four parts:
- The layer headers, where you manage layer names, visibility, and groups.
- The frame headers across the top, where you browse and select frames.
- The cell area in the middle, where each layer/frame combination is shown.
- A clip row, when your document uses animation clips.
If you are new to Resprite, it is worth getting familiar with these areas before moving on to the dedicated pages for layers, frames, and cells.
Timeline Layout and Panel Size
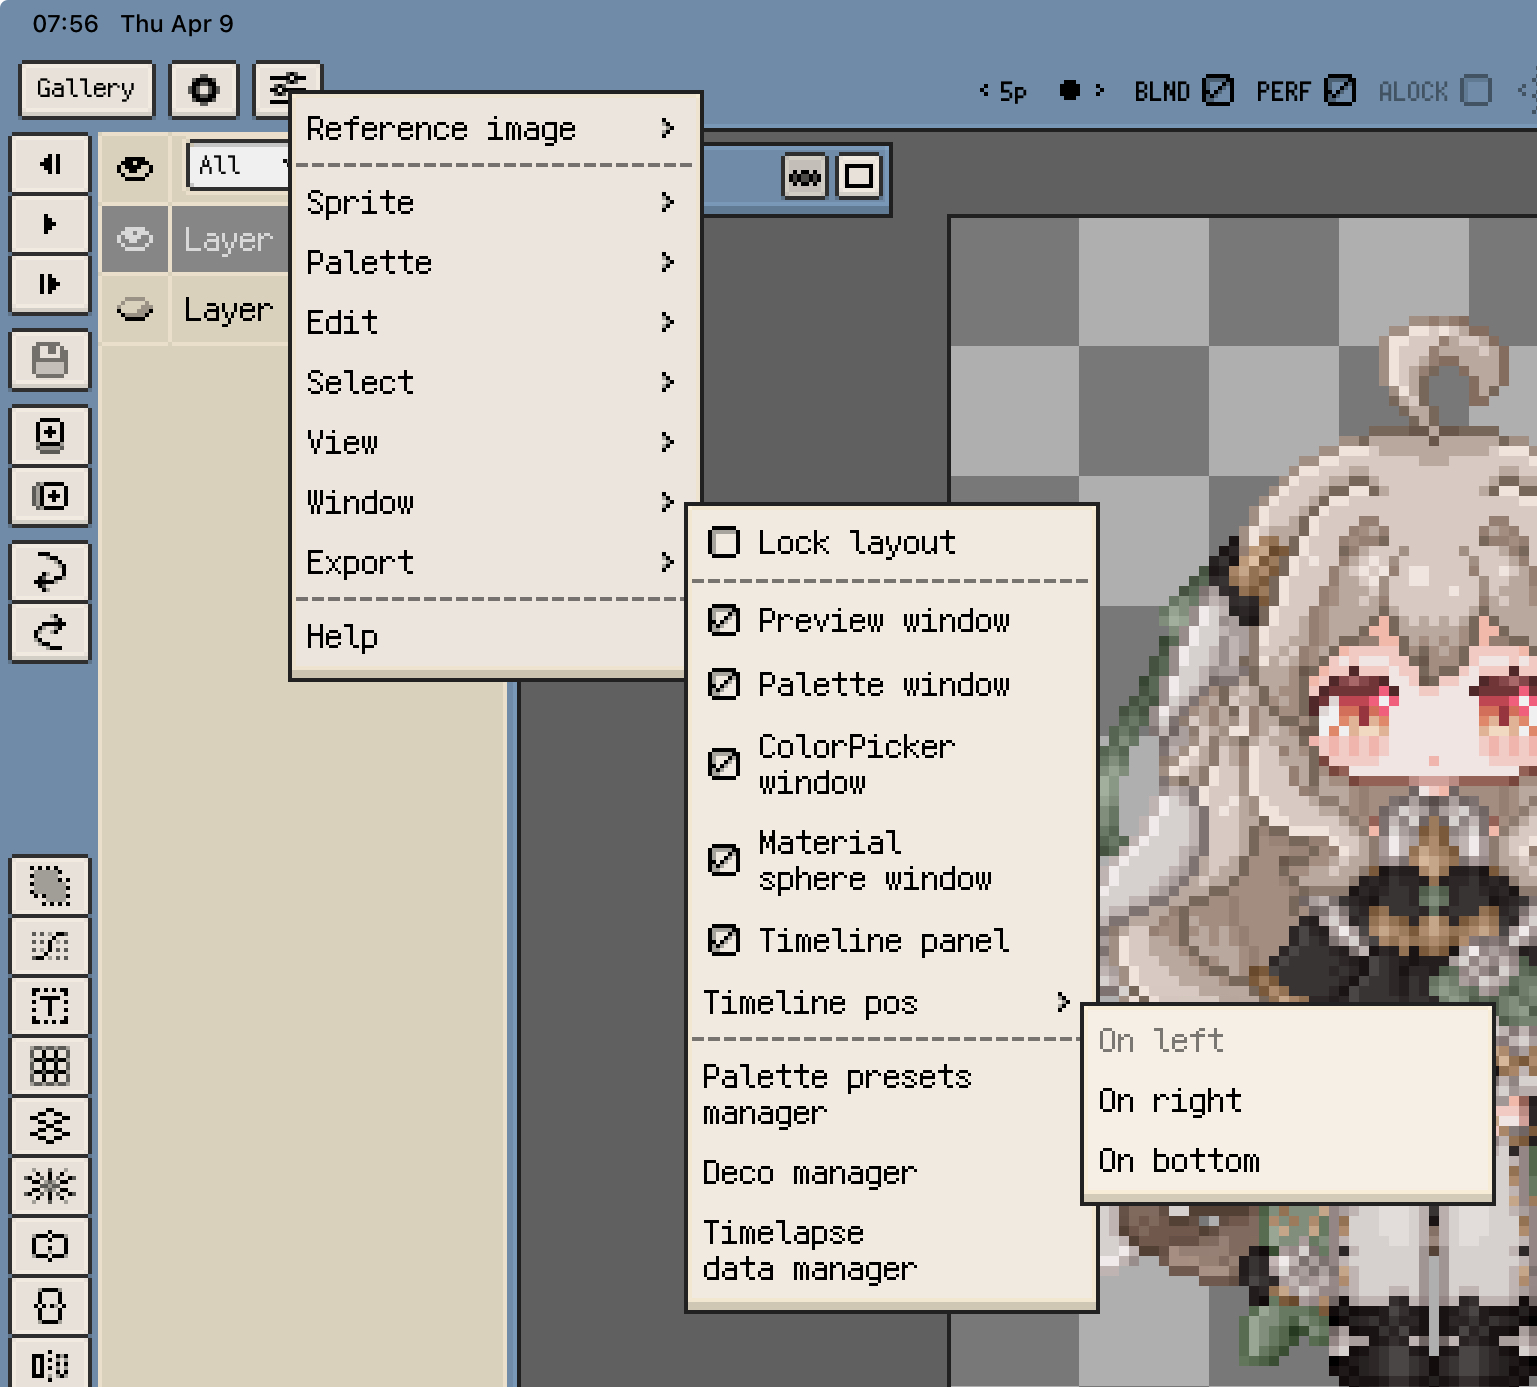
On iOS, open Menu ▸ View ▸ Timeline Position in the sprite editor to place the timeline on the left, right, or bottom side of the workspace.
On desktop, the timeline is used as a separate window instead. You can resize that window directly depending on whether you want a compact overview or a roomier editing layout.
Adjust the Layer Header Width
On both iOS and desktop, you can drag the divider on the right side of the layer-name area to change how wide the layer headers are. This is especially useful when your layer names are long or when you want thumbnails to be easier to read.
Layer thumbnails
Layer thumbnails make it much easier to recognize what each layer contains at a glance.
- On iOS, you can toggle them from the View menu or from the related settings.
- On desktop, you can turn them on or off in the timeline settings.

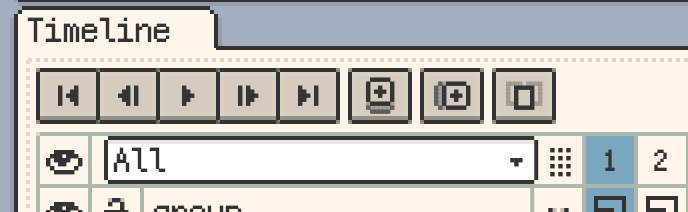
Timeline Action Bar
The action bar above the timeline usually contains a few high-frequency controls, such as:
- Play, stop, and frame navigation.
- New Layer and New Frame.
- Onion Skin toggle.
On iOS, you can decide whether to show the entire timeline action bar, and you can further choose which buttons should appear on it.
On desktop, the timeline action bar is lighter and mainly focuses on playback, New Layer, New Frame, and Onion Skin. If the timeline window becomes too short, the action bar may hide automatically so the table area keeps more usable space.
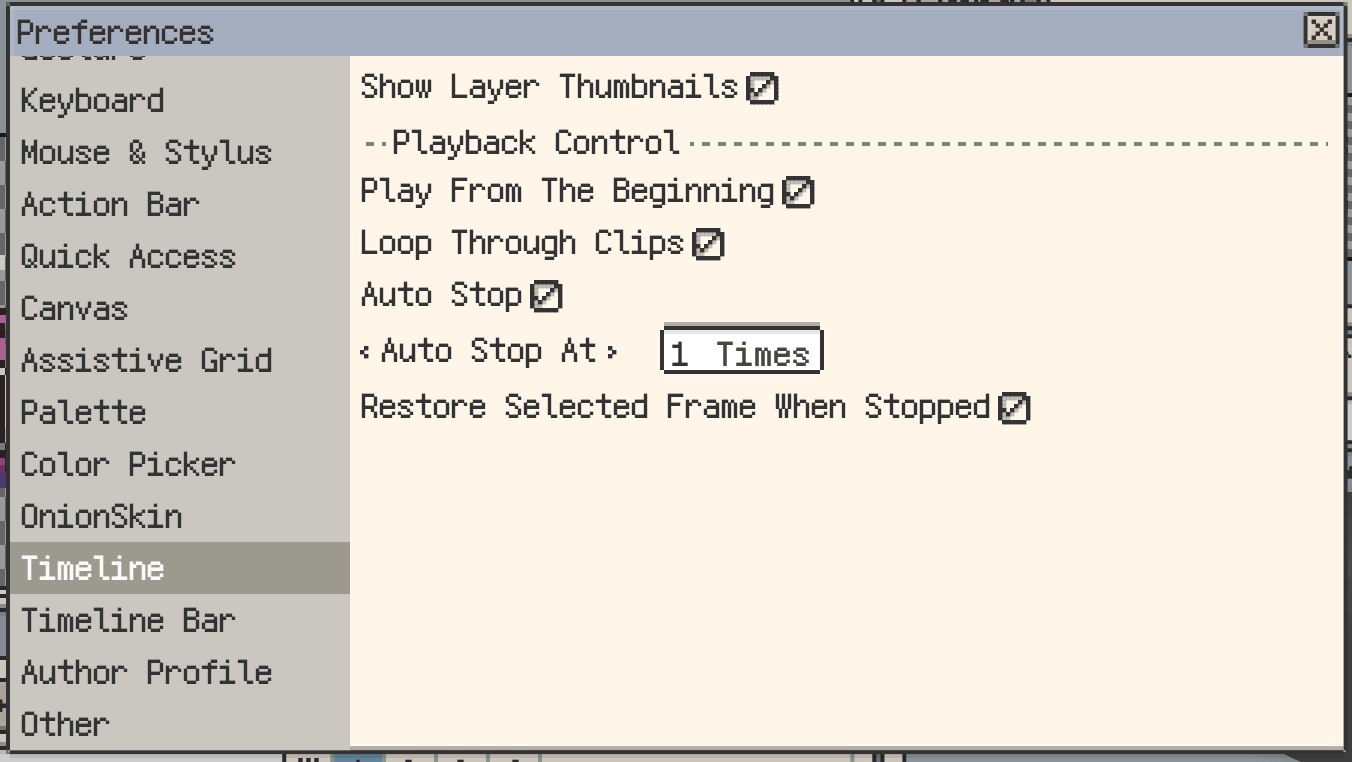
Playback Behavior
If you often draw a little, play the animation, then continue drawing, the playback settings in the timeline are worth learning. The current version supports options such as:
- Start playback from the beginning.
- Play through clips continuously.
- Stop automatically after a limited number of loops.
- Return to the previously selected frame when playback stops.
These settings are useful when you want to check a short animation repeatedly without manually navigating back to the frame you were editing.
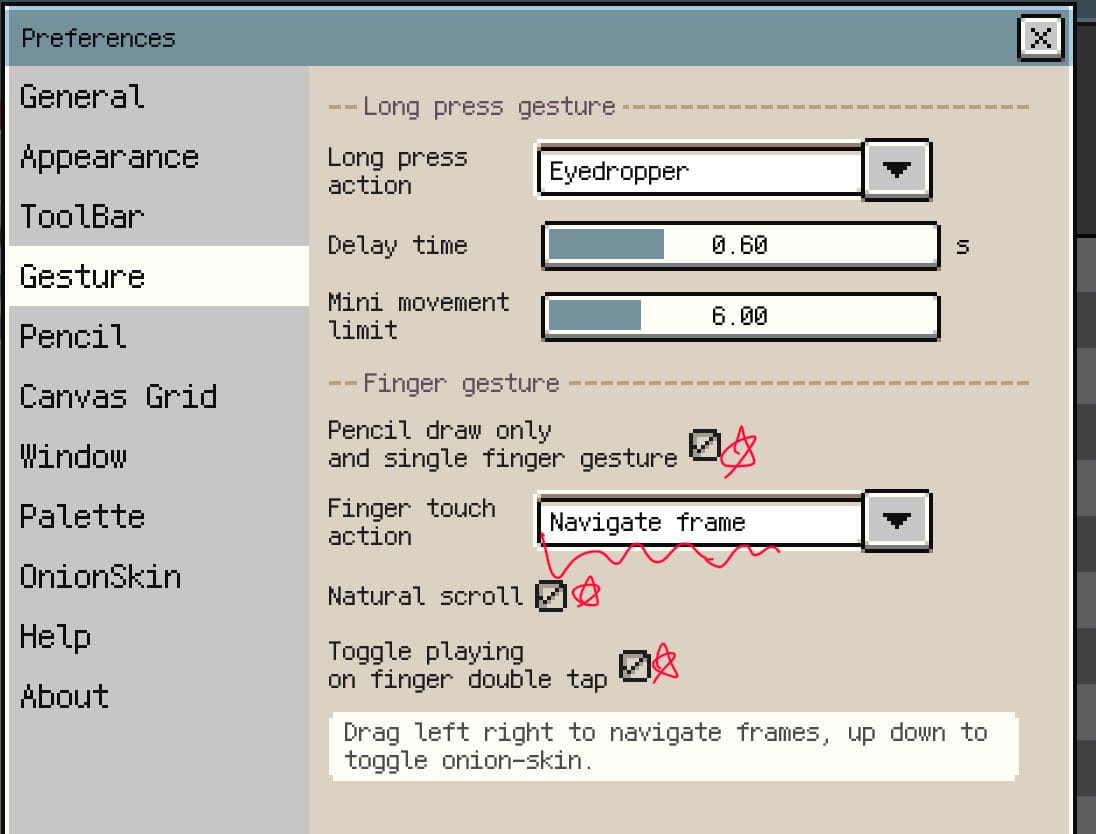
Mobile Frame-Navigation Gestures
On mobile devices, you can enable a single-finger frame-navigation mode and perform a few timeline-related actions directly on the canvas instead of constantly tapping back to the timeline.
The usual workflow is:
- Drag left or right to move to the previous or next frame.
- Drag up or down to toggle Onion Skin.
- Optionally enable double-tap to play or pause.
This gesture flow is mainly meant for tablet-style touch workflows. It does not apply to desktop, and iPhone does not show the same single-finger drawing-mode settings.
Continue reading: