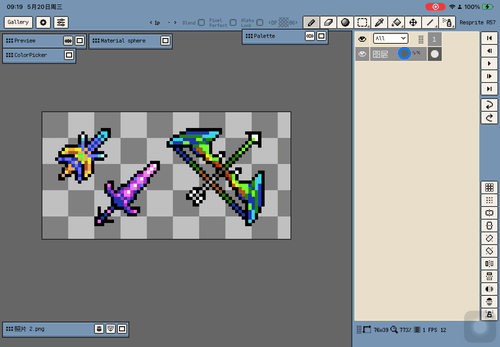
Layers
Layers are the backbone of the timeline. They let you separate characters, shadows, effects, text, and backgrounds, then keep complex artwork organized with groups, blend modes, and clipping masks.
Basic Interactions in the Layer Header
Each layer header in the timeline usually includes some of the following:
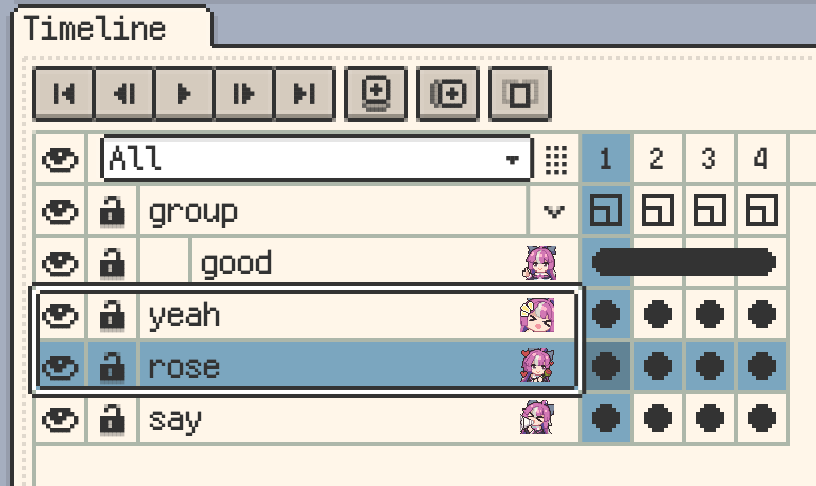
- An eye icon for visibility.
- A lock icon for edit protection.
- The layer name.
- A group expand/collapse icon for group layers.
- Status indicators such as tags, blend mode, clipping mask, layer effects, and thumbnails.
- On iOS R57+ and desktop / Android v1.31.1+, layer states are grouped behind a unified status icon, reducing visual noise when several states apply at once.

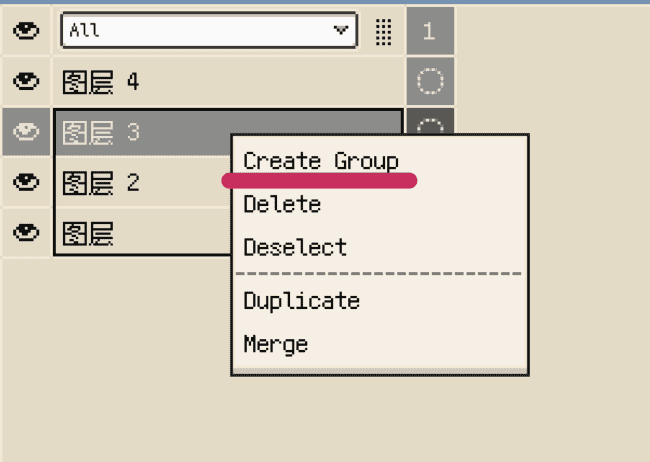
Opening the Layer Menu
- On mobile, you can usually open the layer menu by double-tapping the layer header.
- On desktop, right-click the layer header.
- On desktop, double-clicking may behave more like “open properties” unless you explicitly use the menu-oriented behavior in settings.
The layer menu commonly includes actions such as:
- Properties
- New Layer
- New Group
- Delete Layer / Delete Group
- Copy or Duplicate
- Merge Down
- Merge Visible
- Flatten Group
- Tag
- Staticise / Unstaticise
- Clipping Mask
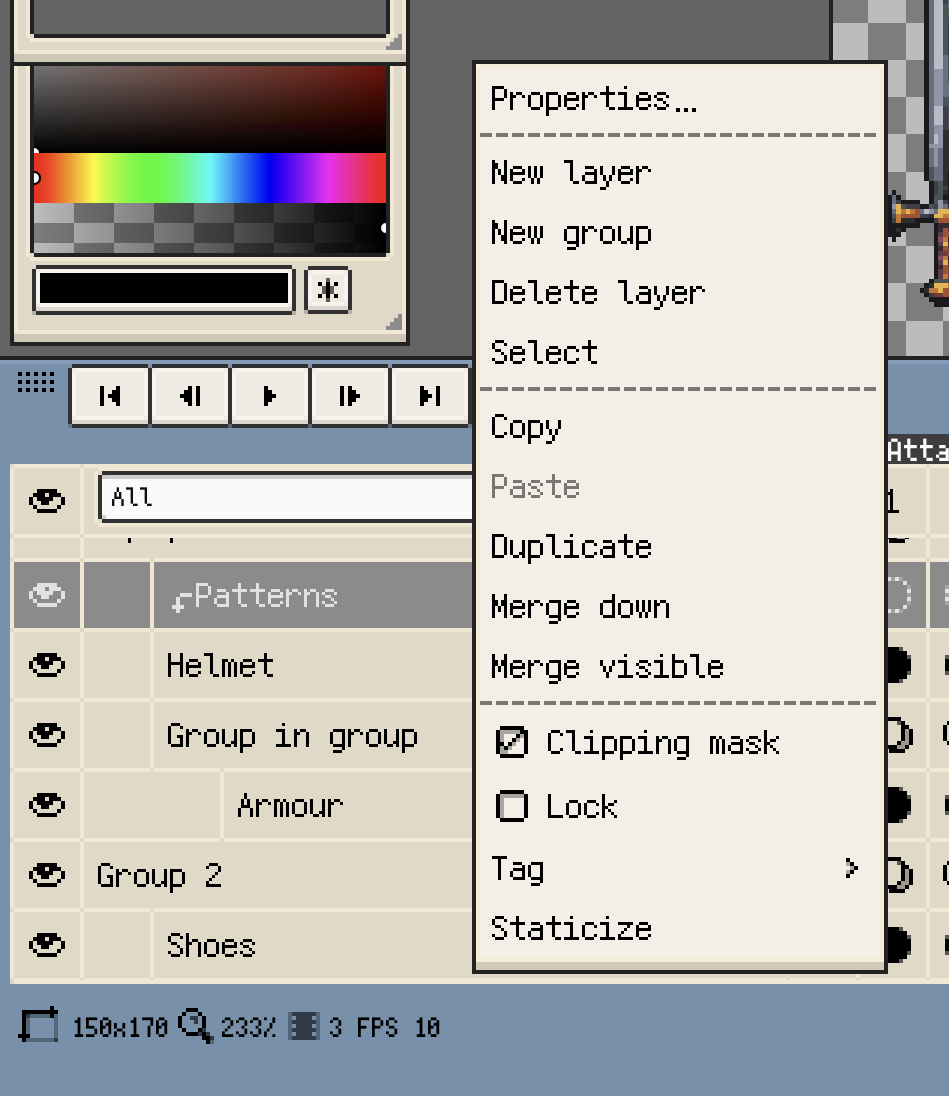
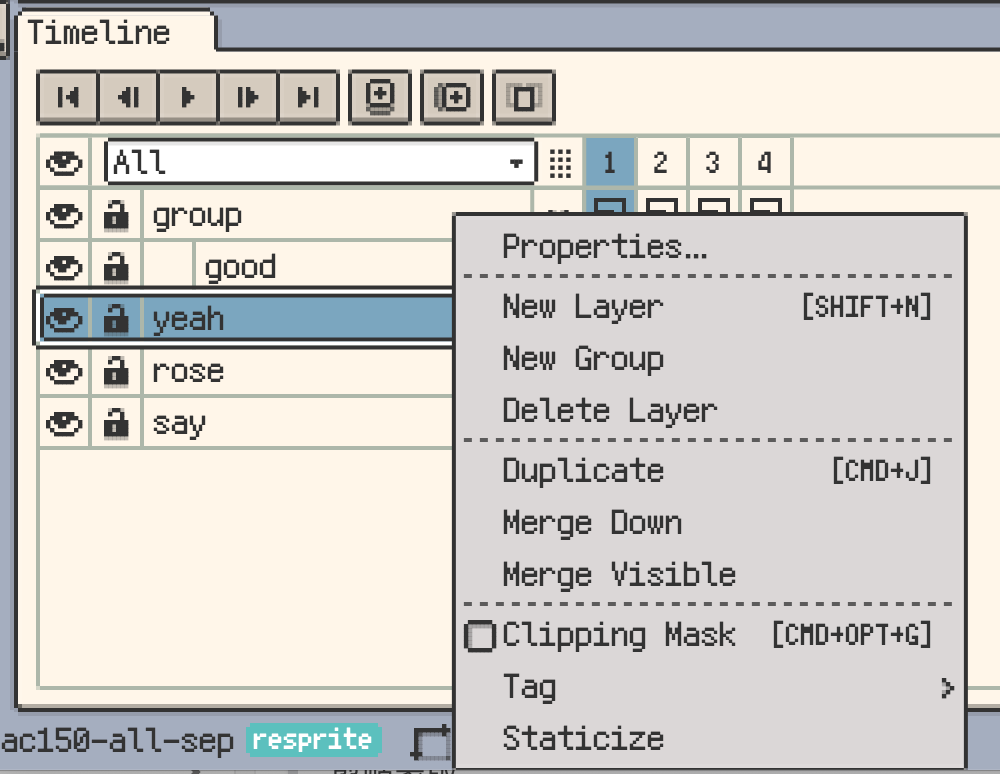
Some commands are hidden or disabled when their prerequisites are not met. For example, not every layer can merge down, and clipping mask is not always available in every context.
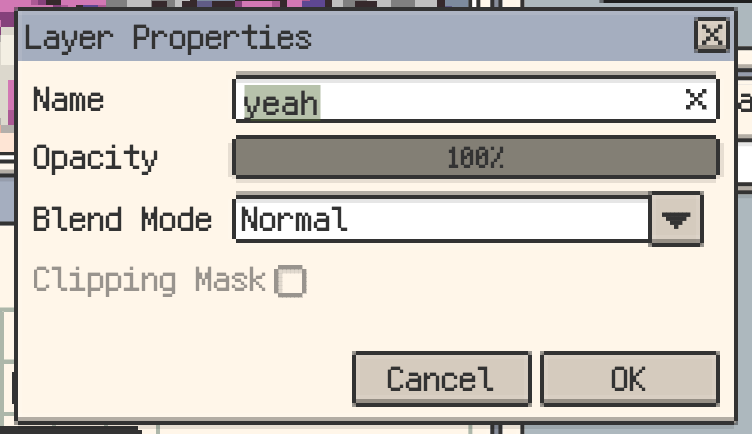
Layer Properties
The layer properties dialog usually focuses on these shared controls:
- Name
- Opacity
- Blend Mode
On desktop, you can also toggle Clipping Mask directly in the properties dialog. On iOS, clipping mask is more commonly toggled from the layer menu. Group layers on iOS may also expose an extra option related to layered export behavior.
Layer Styles (iOS R57+, Desktop & Android v1.31.1+)
Layer Styles let normal layers keep certain effects live instead of immediately baking them into pixels.
- Stroke adds a non-destructive outline around the visible layer content. When the layer content changes, the stroke updates with it.
- Shadow adds a hard-edged pixel shadow with adjustable offset, size, and colour. It is generated from the post-stroke outline when Stroke is also enabled.
- When you need to commit the result, rasterize the style so it becomes normal pixel content.
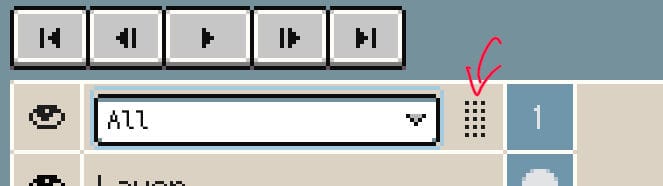
Reordering, Grouping, and Multi-Selection
Reordering Layers
- On mobile, you can long-press a layer header and drag it up or down.
- On desktop, layer reordering is closer to a direct drag workflow after selection, without relying on long-press.
Quick Grouping
Dragging layers is not just for reordering:
- Dragging into an existing group can move the layer into that group.
- Dragging onto another layer in the right place can also create a new group quickly and place the related layers inside it.
Multi-Selecting Layers
Multi-selection makes batch actions like grouping, deleting, and merging much faster.
- On mobile, multi-selection is usually entered from the layer menu flow.
- On desktop, it is more naturally handled through selection expansion, such as continued clicking or keyboard-assisted selection.
Visibility and Locking
Visibility
- Click the eye icon on a layer header to show or hide that layer.
- Click the global eye icon at the top of the timeline to affect the overall visible state.
- On iOS R57+ and desktop / Android v1.31.1+, if multiple layers are selected, the global eye toggles only those selected surface layers and leaves unselected layers unchanged.
- If a group is hidden, its child layers follow that visibility state.
Long-pressing the eye icon can temporarily solo the current layer or group, then restore the previous visibility state when used again. This is useful when checking a character layer, a shadow pass, or an effects layer in isolation.
Locking Layers
Click the lock icon to prevent a layer from being edited. Group layers can also be locked, and child layers may inherit that locked state from their parent group.
Expanding and Collapsing Groups
Group layers can be expanded or collapsed. When a file gets large, it is much easier to keep related layers inside groups and fold them when you are not actively working on that section.
Adjusting the Name Column Width
Drag the divider on the right side of the name area at the top of the timeline to make the layer-name column wider or narrower. This is especially helpful when layer names are long or when you want more room for tags, thumbnails, and status icons.
Blend Modes
Blend modes work on regular layers as well as layer groups. They change how the current layer interacts with the content beneath it. Common use cases include:
- Multiply-style modes for shadows
- Screen or glow-style modes for highlights
- Overlay-style modes for broad colour treatment
Clipping Masks
A clipping mask limits the visible area of the current layer to the opaque area of the layer below it. It is especially useful for colouring a character, adding texture to text, or keeping highlights and shadows inside an already-painted shape.
Layer groups can participate in this structure too, which helps when an effect is split across multiple layers.
After you merge down, merge visible, or flatten a group, clipping masks, blend modes, and opacity relationships are baked into normal pixels. It is safer to merge only after you no longer need those layer relationships.
Staticise and Unstaticise
Staticise and Unstaticise help you batch-switch inheritance across later frames on the current layer. They are useful when you want one layer to keep reusing the same content across frames, or when you want to break that inherited chain apart again.
Continue reading: